
Skip to content
All resources
Live Story in practice10 min

Live Story for a small museum: how to launch your first digital route

A small museum usually has more stories than time, people and money to turn them into digital content. Yet it does not need a complex system or a months-long project from the outset. A sensible starting point can consist of a public venue page, no more than ten well-described objects and one route accessed through QR codes. This guide shows how to choose that scope, divide the work and launch a first version without turning the curator into a round-the-clock IT department.

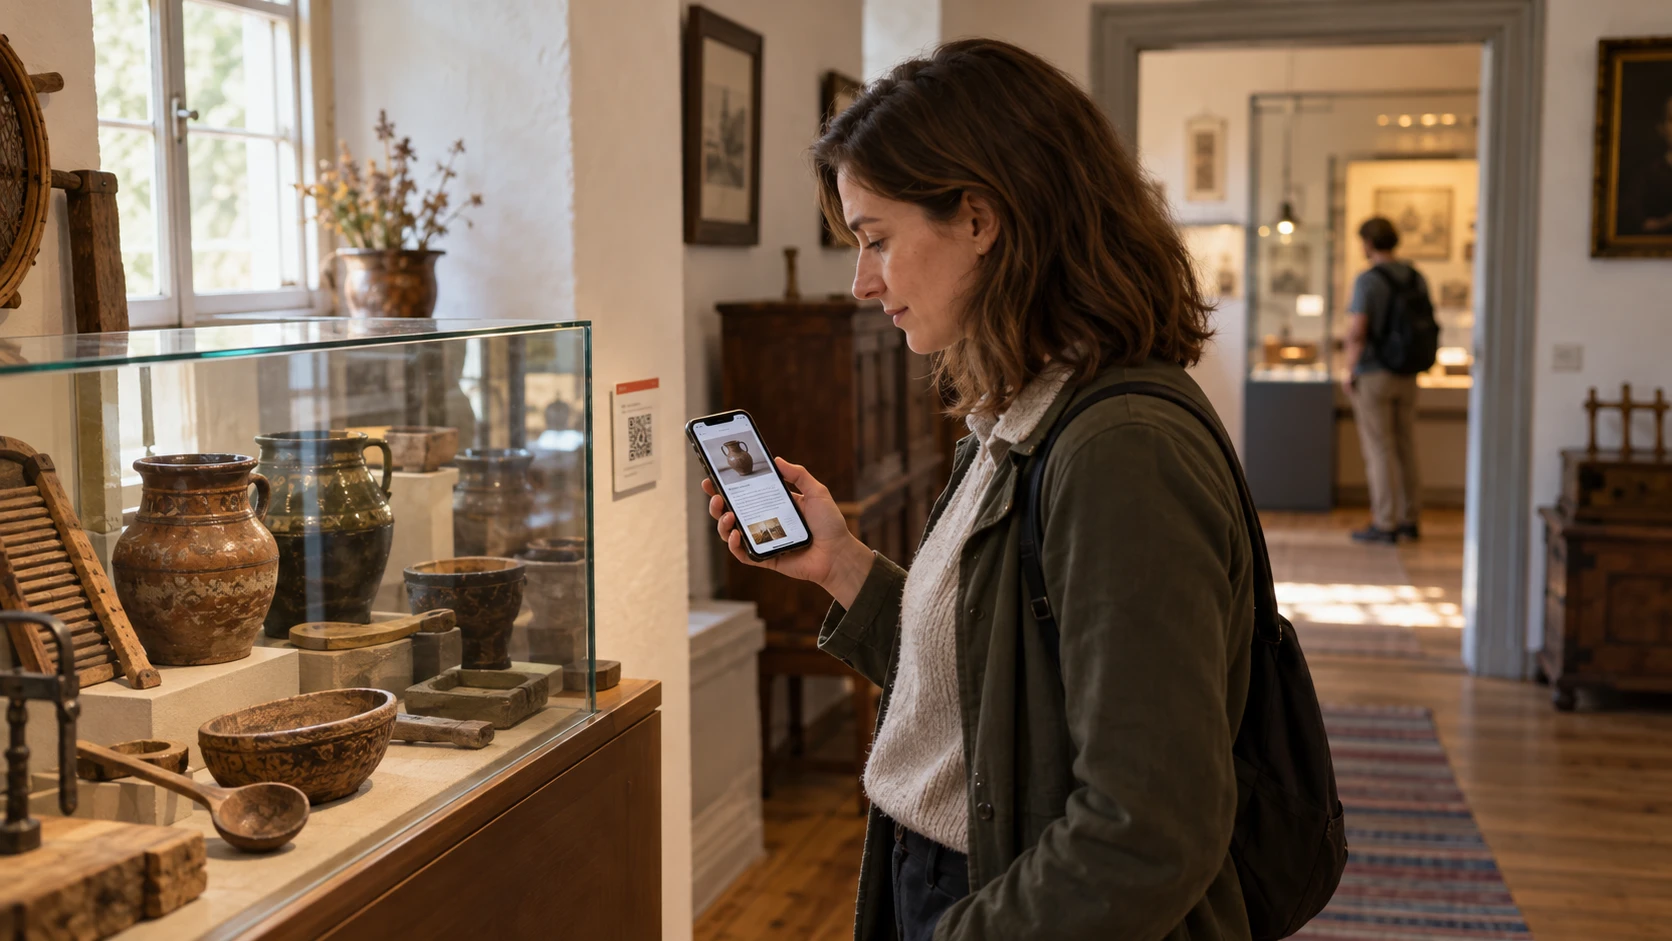
A visitor uses a guide on her phone while standing beside a display case of ceramics in a small museum.
The guide on a phone allows visitors to discover the stories behind the exhibits at their own pace.

A small museum is not a scaled-down version of a large institution

In a large institution, different people may be responsible for collections, education, promotion, the website and technology. In a small museum, all these roles often meet at a single desk, alongside the phone, a box of school resources and the key to the storeroom. A solution for such a place must save work rather than create a new specialist role to fill.

At the same time, a small venue has an advantage that should not be underestimated: it knows its collections, local history and visitors closely. It can choose the most important stories and test them in practice more quickly. It does not need to digitally catalogue everything from a teaspoon to a roof tile. The first version is meant to help people explore, not win a competition for the largest number of forms.

A good initial scope should therefore be small, complete and manageable. It is better to publish 10 carefully prepared points in Polish and English than 150 empty cards that have been waiting for "final additions" for months. A digital exhibition, like a garden, looks its best when someone actually has time to care for it.

First, choose one problem to solve

Saying "we want to be more digital" does not yet tell you what to do. It is far more useful to identify one situation that is not working today. Perhaps visitors ask which order to explore the rooms in. Perhaps international guests receive only a short leaflet. Perhaps an object's most interesting story exists only in the memory of a guide who works three days a week.

The first stage should address one such problem. If the difficulty is a lack of context, good descriptions and audio will be the priority. If people lose track of the order, a short route is needed. If they call before visiting to ask about opening hours, prices and parking, start with the venue's public page.

It is worth writing the goal in one sentence and agreeing on a simple way to assess it. For example: "We want someone visiting without a guide to be able to explore the most important part of the exhibition and understand its main story." After launch, you can review scans, route completions and questions asked of staff. A goal like this guides decisions much better than a long list of features.

  • Missing information before a visit: start with the public venue page.
  • Missing context for objects: prepare descriptions, photographs and audio recordings.
  • Unclear visiting order: create one short route.
  • Missing content in visitors' languages: choose the key points to translate.
  • Untapped educational potential: add a simple quiz only once the story is ready.

A public venue page brings pre-visit information together

The first visible element can be a museum page accessible without installing an app. It should answer everyday questions: what can visitors see, when is the venue open, how much does admission cost, how do they get there, and are there barriers in the building? These are basics, but their absence can end a visit before someone even leaves home.

The page should also show a few photographs, a brief description of the collection's character, the current exhibition and selected publicly presented objects. There is no need to reproduce the institution's history from its founding document to the latest meeting minutes. Two or three short sections should help readers understand why it is worth visiting and what to expect.

This profile becomes a shared destination for links from search engines, social media, the town's website and a QR code on a poster. Later, it can lead to a route, events and the option to follow the venue. At first, however, what matters most is that the information stays in one place and a staff member can update it without asking the website supplier to change every comma.

  • the venue's name, a short description and a photograph
  • opening hours, including exceptions
  • prices and admission rules
  • address, map, phone number and email address
  • information about accessibility and existing barriers
  • one clear link to start exploring

Choose ten points that tell the whole story

The first points should not be chosen solely because they are closest to the entrance or have the longest inventory descriptions. You need a set that collectively explains the character of the place. It might include the most important object, an unassuming item with an extraordinary story, a point connected to a local person, a change in ways of life and an ending that leads into the present day.

For each point, a name, photograph, short description and fuller account are enough to begin with. If the venue has a good recording or video, it can be added, but multimedia is not a compulsory decoration. In Live Story, YouTube content can be added from Community onwards, while uploading your own video file is available from the Standard plan. A three-minute video of a motionless display case does not become more interesting simply because it takes up more megabytes. The content should answer a question that visitors cannot resolve just by looking.

It is also worth agreeing on a common structure for descriptions. The first paragraph explains what the object is. The second shows why it matters to the history of the place. The third can add a detail, an interesting fact or a connection to another point. This structure makes reading on a phone easier and helps with later translations, children's versions or audio narration.

One good route is better than a catalogue without direction

A route turns a collection of separate cards into a plan for a visit. It should have a beginning, a middle and an end, even if it covers only one room. Visitors need to know where to start, what comes next and roughly how long the whole experience will take. The order can be recommended; it does not have to feel like a military drill between display cases.

For a small museum, a standard route lasting 30 to 45 minutes is a good first format. It should lead through the key points and work even when a staff member cannot guide guests in person. If families visit the venue, a simple question or task can be added to a few points, but there is little value in building a separate game before the basic story is ready.

A QR code at the ticket desk or entrance can open the start of the route. Codes beside subsequent objects lead directly to their pages, and the system suggests the next point. Thanks to permanent URLs, later corrections to descriptions, new audio or an additional language do not require replacing printed signs. It is a small feature that stops seeming small after the first date correction.

  • a clear starting point and a short introduction to the route
  • an order based on the story or the space
  • a realistic completion time
  • information about stairs, narrow passages and other barriers
  • an ending that sums up the story and suggests what to see next

Divide the work so the content can be maintained later

The most time-consuming task is usually not setting up the system, but gathering and preparing the materials. In a small team, it is worth appointing one person responsible for the final publication, even if several people write the texts. Without that decision, dates, names and style can vary between points like labels written by successive generations of curators.

First, gather the sources: existing descriptions, catalogues, notes, photographs and staff knowledge. Then create a base version in one language. Only an approved text should be translated, shortened or adapted for children. Otherwise, every correction in the source language turns into several separate changes.

AI Content Studio can help organise notes, shorten a description, suggest simpler language, a translation or quiz questions. It is still a proposal for a human to check. A language model may construct a beautiful sentence, but it does not know whether the local blacksmith really used that particular mould in 1892. In historical matters, confidence is not a source.

A simple routine provides a useful safeguard: one person prepares a draft, another checks the facts and language, and only then is the material published. With ten points, this work can be done calmly. With two hundred cards started at once, the only quiet place left may be the "drafts" tab.

The first launch can be divided into four simple stages

Not every stage has to last exactly a week. The order matters more: first the goal and scope, then the content, followed by configuration and finally a test in the actual space. Printing codes before checking the page is tempting because it produces something tangible, but it is like framing a painting before conservation work is finished.

The pilot should involve people who did not create the content. Let them try to find the profile, start the route, scan the signs and complete the whole visit without extra explanations. A staff member can observe where they hesitate but should not immediately rescue every step. These are precisely the moments that reveal what needs improving before the route is made available to guests.

The following stages use one hypothetical example: a small museum prepares 10 points in Polish and English (PL/EN), linked into one route.

  1. Define the goal and scope

    Choose one problem, the audience for the first version, ten points and the person responsible for publication. In our example, the goal is for Polish- and English-speaking guests to explore the exhibition independently, and publication is coordinated by the staff member responsible for education.

  2. Prepare the information and descriptions

    Complete the venue profile, write the base text for each point, choose photographs and check every fact. For the selected 10 objects, the team gathers inventory records, existing descriptions and photographs they have permission to publish. The curator checks the facts in the Polish version, and someone who knows English verifies the translation of the approved texts.

  3. Build the route and signage

    Set the order, completion time and individual steps, then prepare trial QR codes. In the example, all 10 points form one route with PL/EN descriptions; the team determines its duration after a trial walk-through.

  4. Test, improve and publish

    Walk the route using different phones, check where the codes will be mounted and revise the content before the final print run. Someone outside the team completes the entire example route without prompts, scans the signs and checks access to both language versions. The coordinator collects feedback and, after corrections, retests the problematic points.

Choose a plan for actual use, not ambitions saved for later

Community is a sensible starting point for a memorial room, a small community museum, a single historic site or a short public route. It lets you launch a profile, ten points, one exhibition, one route and two manually completed language versions. That is enough to test the content creation process and visitors' reactions without a monthly fee.

Lite works well when the first route is running and the venue needs more room: twenty-five points, two exhibitions, one route and a third language. There is no need to upgrade just because the project looks promising. First, see whether the team updates the content regularly and whether guests actually use the additions.

Standard includes private access and broader communication with visitors after their visit: alongside push notifications available from Lite, it supports email messages. This is already a matter of operational processes rather than simply publishing descriptions. The choice should reflect how the venue actually works, not a concern that a smaller plan looks too modest in a comparison table.

After launch, it is worth checking the basic data once a month: the number of scans, popular points, route starts and completions, languages used and questions asked of staff. A low result does not always mean a weak story. The code may have ended up behind a half-open door, or the recording may have been too quiet.

First-launch checklist

  • We can explain in one sentence which problem the first version solves.
  • The profile includes current opening hours, prices, contact details and accessibility information.
  • We have chosen no more than 10 points that form a coherent story.
  • Every point has a checked base description and the necessary photographs.
  • The route has a clear beginning, sequence, completion time and ending.
  • The QR codes have been tested on site and on several phones.
  • Someone outside the team has completed the route without additional instructions.
  • We know who updates the content and when we will review the first data.

Let's talk

Start with one story you can bring to completion.

Launch a public profile and your first route in Live Story, test them with visitors, and add further points and features only when they are truly needed.